
Listen… this is illegal levels of delicious. 🤫 These Smashburger Sliders with Caramelized Onions are about to become your new obsession. Juicy, melty, and packed with flavor, they’re the ultimate comfort food that’ll have you licking your fingers and asking for seconds. (And thirds. We don’t judge.) Grab your apron and let’s get cooking – it’s showtime! 🎭
Why You’ll Love This Smashburger Sliders with Caramelized Onions
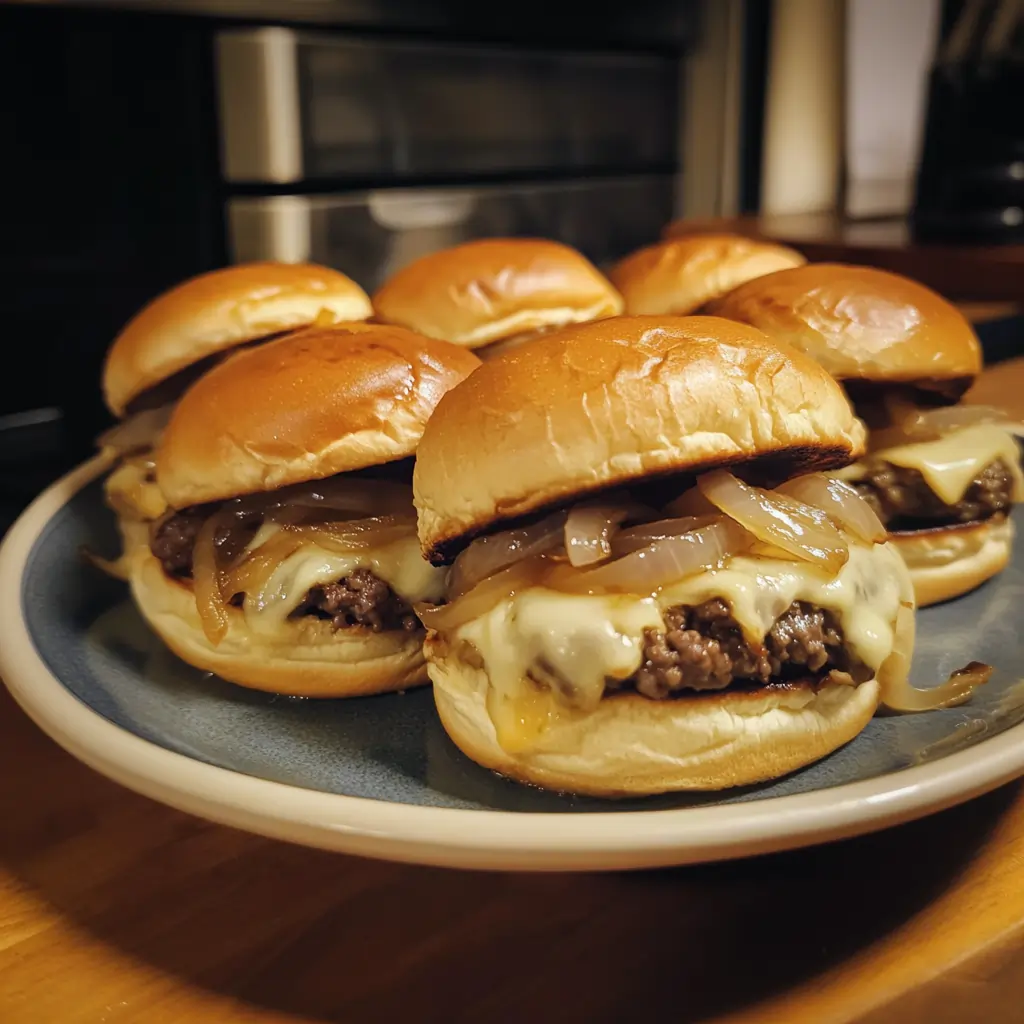
These Smashburger Sliders are the stuff dreams are made of! 🤤 Perfectly seasoned beef patties smashed to crispy perfection, layered with gooey cheese and sweet, savory caramelized onions. It’s a flavor explosion in every bite! Plus, they’re super easy to make at home – no fancy equipment needed. Just grab a skillet and get ready to impress everyone at your next backyard bash. (Or, you know, impress yourself. Treat yo’self! 💅) These little sliders pack a major punch, so get ready for some seriously big (read: mouthwatering) flavor in a bite-sized package.
Ingredients You’ll Need
Okay, here’s the lineup: ground beef, onions, butter, Worcestershire sauce, salt, pepper, and a few slices of your favorite cheese. That’s it! See, I told you it was easy. 😉 Just a handful of simple ingredients that come together to create burger magic. (Food sorcery, really.) Now, if you’re feeling extra creative, you could swap in different cheeses or try a mix of beef and pork for the patties. But the real star here is the caramelized onions – they add such a rich, sweet, and totally crave-worthy flavor. 🤩
- 1 pound — ground beef
- 2 medium — onions, sliced
- 2 tablespoons — butter
- 1 tablespoon — Worcestershire sauce
- Salt and pepper — to taste
Ingredient Swaps (No Panic Allowed)
- Ground beef → Blend of beef and pork (still delicious, promise) ✅
- Cheese slices → Cheddar, Swiss, or pepper jack (easy dietary swap) 👍
How to Make Smashburger Sliders with Caramelized Onions (Step-by-Step)
Alright, let’s do this! 💪 First up, we’re going to work on those heavenly caramelized onions. In a skillet over medium heat, melt some butter and add sliced onions. (You know what they say – the more onions, the merrier! 😉) Let those babies cook low and slow until they’re nice and golden brown and sweet as can be. This might take 20-30 minutes, but trust me, it’s so worth it.
Step 1: Prep Work
– Slice the onions into thin half-moons. – Form the ground beef into small, evenly-sized balls (about 2 tablespoons each).
Step 2: Main Cooking Process
– In a skillet over medium heat, melt the butter. – Add the sliced onions and cook for 20-30 minutes, stirring occasionally, until deeply caramelized and sweet. – While the onions are cooking, heat a cast-iron skillet or griddle over high heat. – Working in batches if needed, place the beef balls on the hot surface and use a sturdy spatula to smash them down into thin patties. – Season with salt and pepper. – Cook for 1-2 minutes per side, until the edges are crispy and the centers are cooked through.
Step 3: Final Steps/Assembly
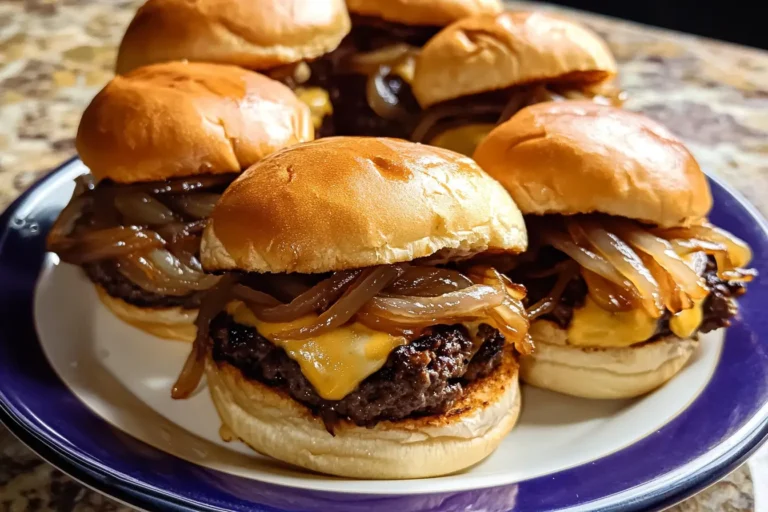
– Place the smashed beef patties on the bottom buns. – Top each patty with a slice of cheese. – Pile on the caramelized onions. – Add the top buns and serve immediately!
Step 4: Finishing Touches
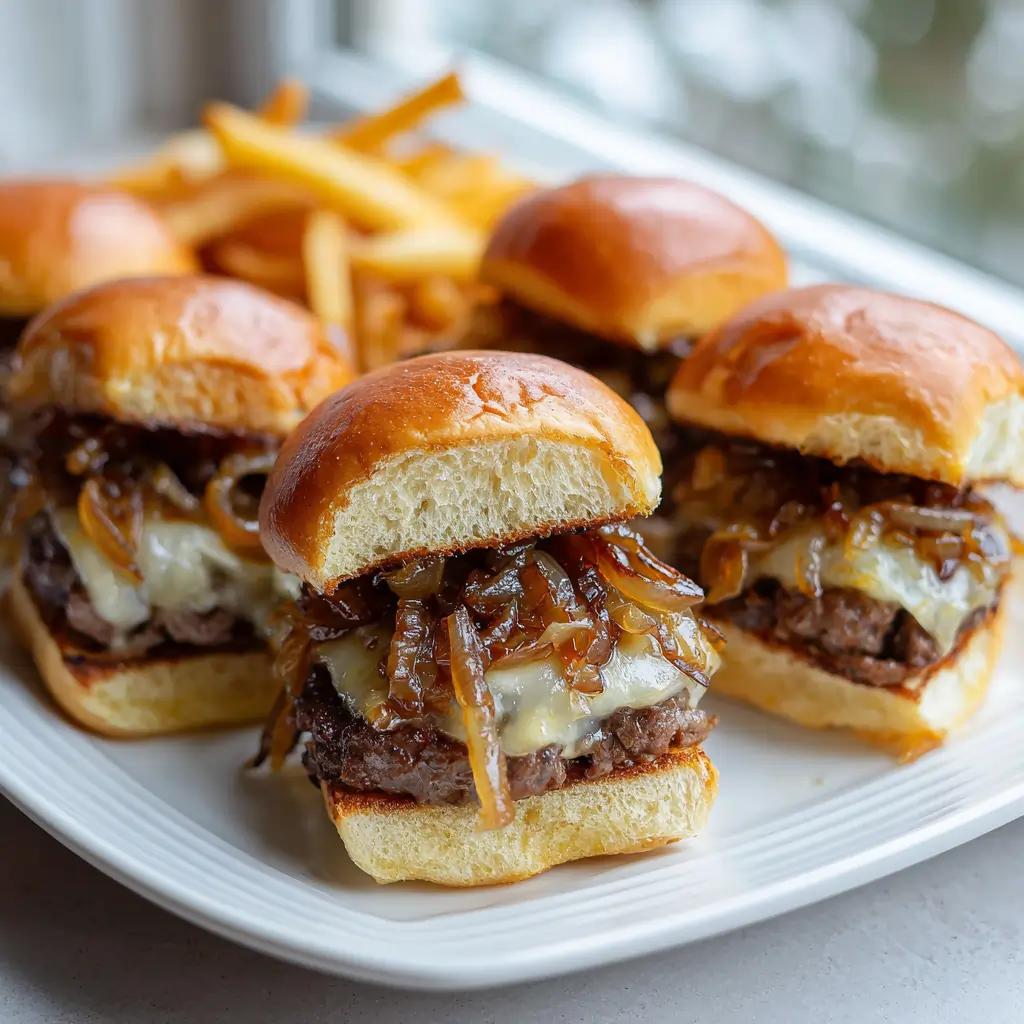
– For an extra indulgent touch, spread a little Worcestershire sauce on the buns before assembling. – Serve with crispy fries, creamy coleslaw, or your other favorite burger toppings. 🍟🥤
How to Know It’s Done (No Guessing)
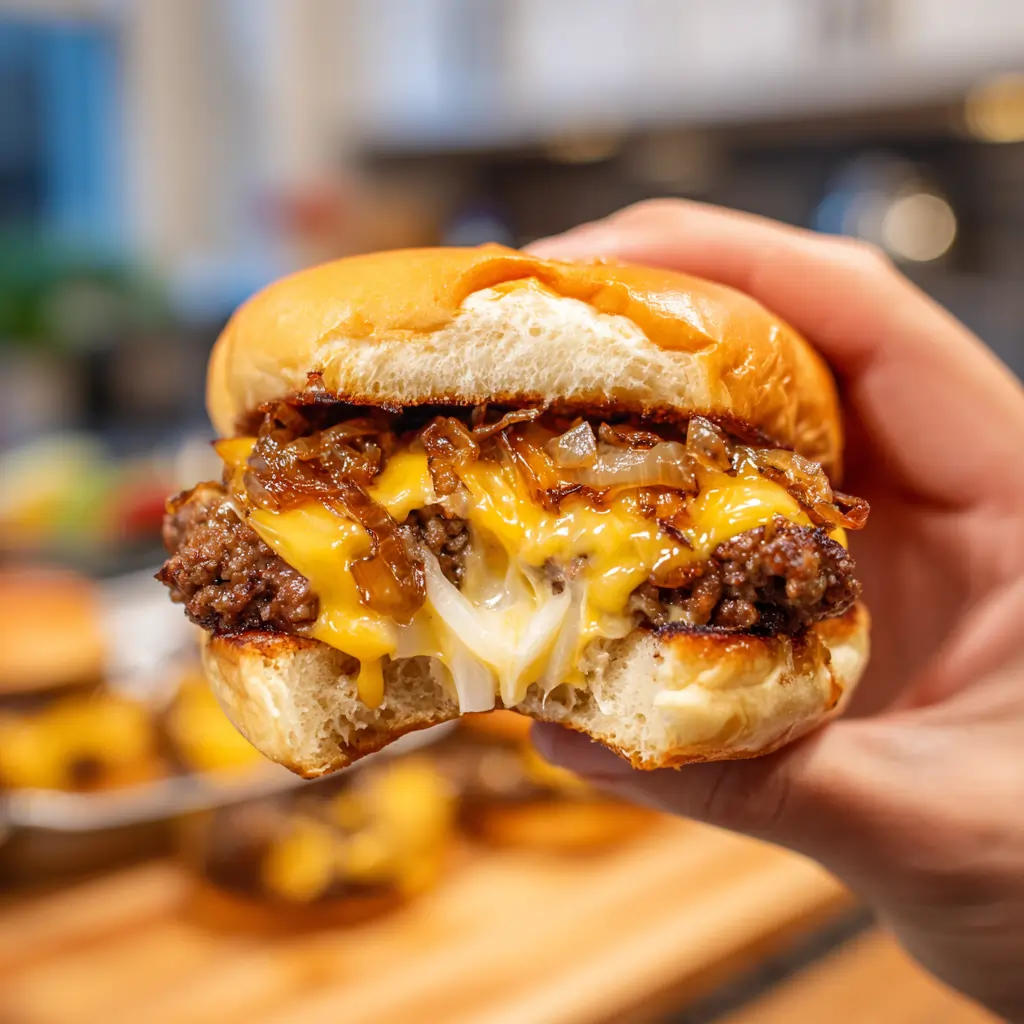
Okay, let’s talk burger doneness. 👀 First off, you’ll know those onions are ready when they’re a beautiful deep golden-brown color and super soft and sweet. As for the smashed patties, look for a nice crispy edge and a juicy, cooked-through center. (No more that sad, gray, dry beef, my friends. We don’t do that here!) And when you add that melty cheese, you’ll see it getting all gooey and delicious.
Look for
- Deeply caramelized, sweet onions
- Crispy edges and juicy centers on the patties
- Gooey, melty cheese
Avoid
- Pale, raw-looking onions
- Dry, overcooked beef patties
If it’s too… here’s the fix
- Too dry — Add a splash of Worcestershire sauce or a pat of butter to the pan to keep things nice and juicy.
- Not needed here — visual cues are enough — for this recipe, a temperature probe isn’t necessary.
What to Do If It Goes Wrong (Fix-It Guide)
Uh-oh, looks like someone’s burger is in trouble! 😬 No worries, we’ve got your back.
- Too salty — Serve the sliders with a side of cool, creamy coleslaw or a refreshing pickle spear to balance out the flavors.
- Too dry — Try drizzling a little Worcestershire sauce over the patties before assembling, or add a pat of butter to the pan to keep them juicy.
- Too runny — Drain off any excess liquid from the onions before piling them on the burgers.
- Not browning — Crank up the heat to high and let those patties sizzle until they’re nice and crispy on the edges.
Good news: almost everything is fixable. Panic is optional. 😌
Recipe Variations & Tips (Tiny Checklist, Big Energy)
Before you freestyle: run this quick checklist like a kitchen boss.
- Topping ideas — Try crispy bacon, tangy BBQ sauce, or a dollop of spicy aioli. ✅
- Cheese options — Cheddar, pepper jack, or Swiss would all be delicious. ✅
- Veggie addition — Sauté some mushrooms with the onions for extra earthy goodness. 🎉
- Portion control — Keep the sliders bite-sized so you can enjoy a few without feeling too stuffed. 🚀
Warning: This may cause sudden happiness and suspicious silence at the dinner table. Proceed responsibly. 😅
Serving & Storage
| Topic | Notes |
|---|---|
| Best Serving Ideas | Serve these sliders straight off the skillet for maximum melty cheese and hot, crispy edges. They’re perfect for game days, backyard barbecues, or anytime you need a seriously crave-worthy comfort food fix. |
| Fridge Storage | Leftover sliders will keep in the fridge for 3-4 days. Store the patties, onions, and buns separately. |
| Freezer Storage | Freeze the cooked patties and caramelized onions in an airtight container for up to 3 months. Thaw in the fridge before assembling and serving. |
| Reheating | To reheat, pop the patties and onions in a skillet over medium heat until warmed through. Add the cheese in the last minute to get it nice and melty. |
Nutrition Notes
These Smashburger Sliders are the ultimate in indulgence, but with a few simple swaps, you can make them a little more figure-friendly. Use leaner ground beef, opt for lower-fat cheese slices, and go easy on the butter when caramelizing the onions. That way, you can enjoy all the cozy, comforting flavors without the guilt. 🙌 Just don’t skimp on the toppings – those caramelized onions are the real star of the show!
- Serving Size: 1 slider
- Calories: 350 kcal
- Protein: 20 g
- Carbs: 30 g
- Fat: 18 g
- Sodium: 450 mg
Smashburger Sliders with Caramelized Onions ✅
These delicious smashburger sliders are topped with sweet caramelized onions for a perfect blend of flavors. Ideal for game day or a casual get-together!
- Total Time: 35 minutes
- Yield: 12 sliders 1x
Ingredients
- 1 pound ground beef (80% lean)
- Salt and pepper to taste
- Slider buns (12)
- 1 large onion, thinly sliced
- 2 tablespoons olive oil
- 1 tablespoon butter
- 1 cup shredded cheddar cheese
- Pickles and mustard for serving
Instructions
- In a skillet, heat olive oil and butter over medium heat. Add sliced onions and cook, stirring occasionally, until caramelized (about 15-20 minutes).
- While the onions cook, preheat a griddle or skillet over high heat.
- Form the ground beef into small balls (about 2 ounces each). Season with salt and pepper.
- Once the skillet is hot, place the beef balls on the griddle and smash them down with a spatula to create a thin patty.
- Cook for about 2-3 minutes until the edges are crispy, then flip and top with cheddar cheese.
- Cook for another 1-2 minutes until the cheese is melted.
- To assemble, place the patties on slider buns, top with caramelized onions, pickles, and mustard. Serve warm.
Notes
For extra flavor, consider adding a splash of Worcestershire sauce to the beef before cooking. These sliders can also be customized with your favorite toppings!
- Prep Time: 10 minutes
- Cook Time: 25 minutes
- Category: Burgers, Melts & Sandwiches 🍔
- Method: Grilling or Skillet Cooking
- Cuisine: American
Nutrition
- Serving Size: 1 slider
- Calories: 250 kcal
- Sugar: 3g
- Sodium: 400mg
- Fat: 15g
- Saturated Fat: 7g
- Unsaturated Fat: 5g
- Trans Fat: 0g
- Carbohydrates: 10g
- Fiber: 1g
- Protein: 12g
- Cholesterol: 50mg
Keywords: smashburger, sliders, burgers, caramelized onions
Quick Questions People Always Ask
Absolutely! The patties can be formed and refrigerated for up to 24 hours before cooking. Just be sure to let them come to room temperature before smashing and cooking for the best texture.
The key is to cook them low and slow. Resist the urge to crank up the heat – you want those onions to slowly transform into sweet, golden-brown perfection. Plan on 20-30 minutes of gentle simmering for best results.
Definitely! Cheddar, Swiss, and pepper jack would all be delicious options. Just make sure to use thin slices so they melt beautifully on the hot patties.
The secret is in the smash! Be sure to form the beef into tight, evenly-sized balls before smashing them down in the hot skillet. This helps them hold their shape and get that crispy, caramelized edge.
Absolutely! Just swap the regular burger buns for your favorite gluten-free rolls or lettuce wraps. The rest of the recipe is naturally gluten-free, so you’re good to go!