
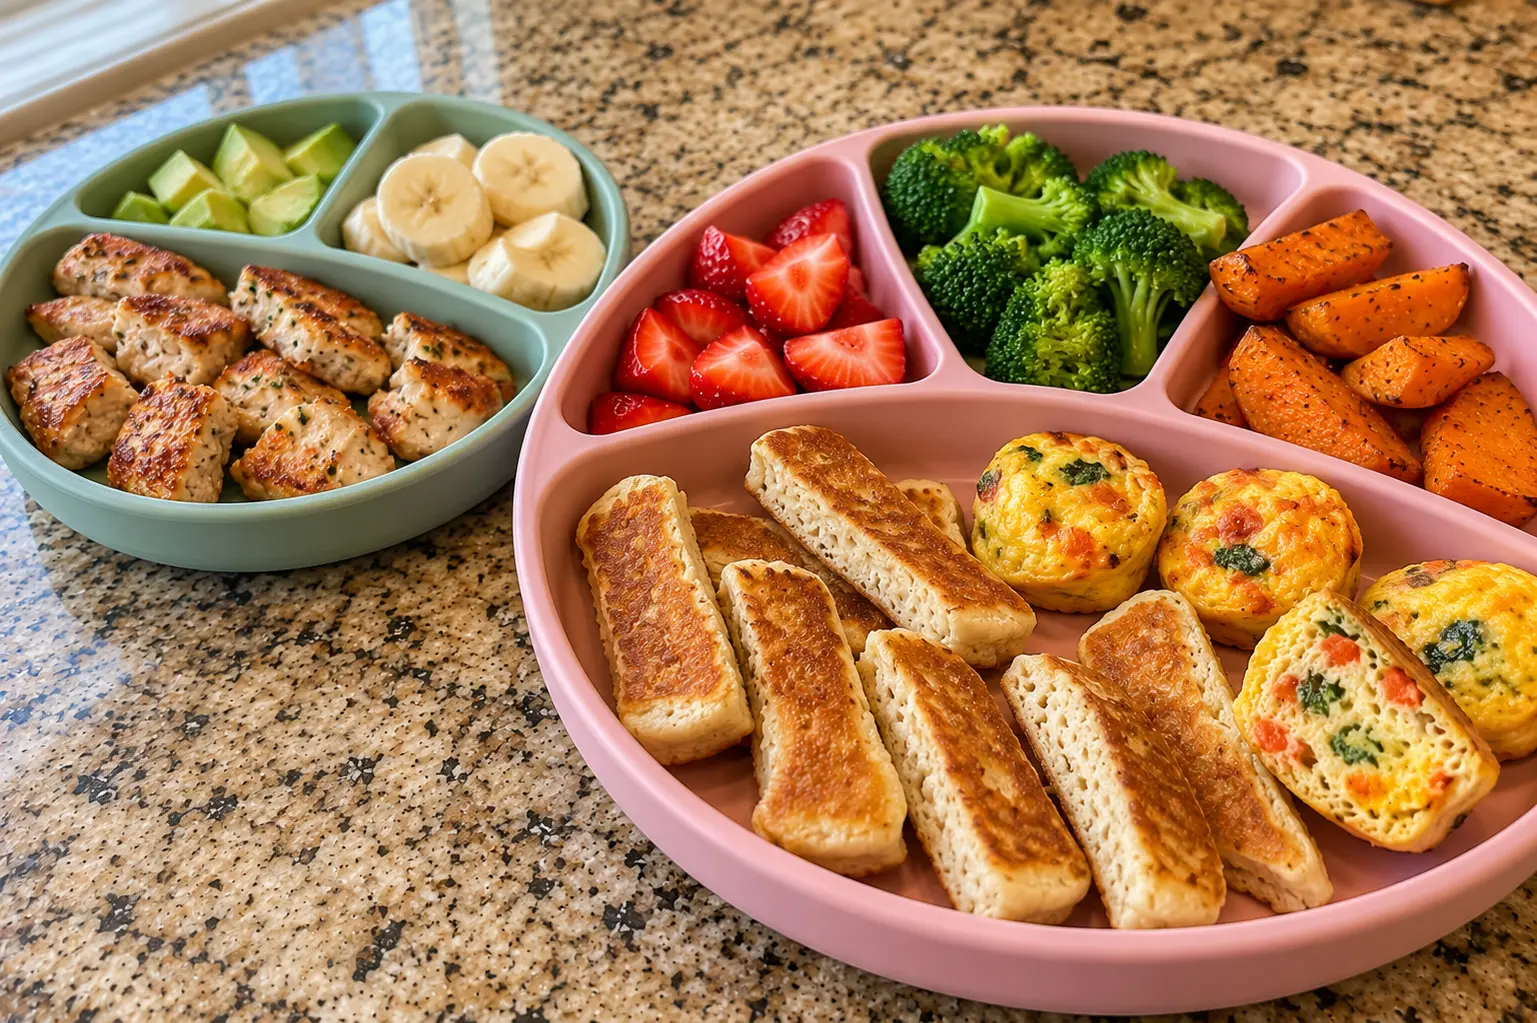
toddler finger foods is the kind of cozy, craveable recipe that keeps dinner simple without making it boring. Your toddler’s officially past the “will eat anything that fits in mouth” phase, so let’s make something they’ll actually want to eat. These crispy, juicy chicken finger foods are designed for tiny hands, big appetites, and parents who need a win at dinner time. No complicated techniques—just golden, flavorful bites that make mealtime less of a negotiation and more of a celebration.
Why You’ll Love This Toddler Finger Foods
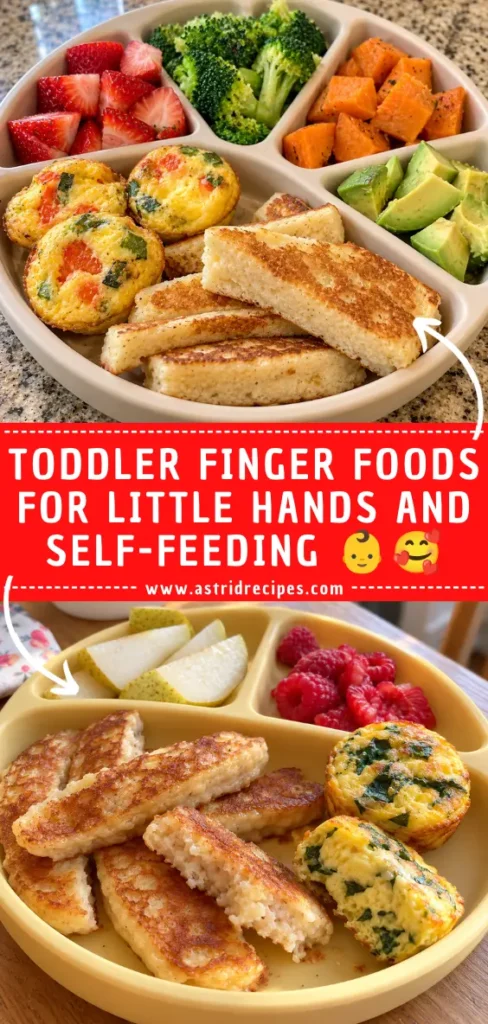
- Toddler-approved portions that fit perfectly in little hands (and actually make it to their mouth instead of the floor) 🙌
- Golden, crispy outside with juicy, tender chicken inside—even picky eaters pause mid-tantrum for these 🤤
- Ready in under 30 minutes, because you’ve got approximately 14 other things to do right now 😅
Ingredients You’ll Need
- 1 lb boneless, skinless chicken breasts — the foundation of this whole operation
- ½ cup all-purpose flour — for the first coating layer
- 1 egg — beaten, for binding everything together
- ½ cup panko breadcrumbs — the secret to that crispy texture
- ½ tsp garlic powder, ½ tsp paprika, ¼ tsp salt, pinch of black pepper — flavor without the heat 🧂
- Oil for baking or shallow frying — your choice of method
Easy Toddler Finger Foods Swaps
- Whole wheat flour or gluten-free blend → Works just as well (your kiddo won’t know the difference) 🌾
- Panko breadcrumbs → Crushed crackers, cereal, or even crushed pretzels if you’re feeling creative 🥣
How to Make Toddler Finger Foods
Step 1: Prep Your Chicken
Pound those chicken breasts until they’re about ½-inch thick—it’s therapeutic and totally necessary. Slice them into finger-sized strips (roughly 3 inches long) so they’re the perfect size for tiny hands to grab and actually eat. Pat them dry with a paper towel; moisture is the enemy of crispy, so don’t skip this part.
Step 2: Coat & Crust
Set up your breading station: flour in one bowl, beaten egg in another, and panko mixed with garlic powder and paprika in the third. Dredge each strip in flour (shake off excess), dip in egg, then roll in the crispy panko mixture until it’s totally covered. This three-step breading is the magic—don’t rush it, and don’t skip any bowl.
Step 3: Cook Until Golden
For baking: place strips on a lined sheet pan and bake at 400°F for 15–18 minutes, flipped halfway through, until golden and cooked through. For shallow frying: heat a skillet over medium-high heat and cook 3–4 minutes per side until the coating is golden and the chicken reaches 165°F internally. Let them cool for 2 minutes before serving—I know patience is hard, but burned tongues ruin everything.
Recipe Variations & Tips
- Dairy-Free Coating — Swap the egg for a plant-based milk + cornstarch mix (2 tbsp milk + 1 tbsp cornstarch per piece) and you’ll still get that perfect golden crust
- Spice Control — Keep the paprika and garlic powder minimal for sensitive palates; you can always add more flavor as they grow
- Crispy Hack — Refrigerate breaded strips overnight before cooking for extra-crispy results straight from cold
- Sneaky Protein Boost — Mix a tablespoon of grated Parmesan into the panko mixture for extra flavor and nutrition
Serving & Storage
| Topic | Notes |
|---|---|
| Serve With | Mild ranch, ketchup, applesauce, or plain yogurt for dipping 🥄 |
| Best Temperature | Warm or room temperature—toddlers are weirdly picky about food temperature 🌡️ |
| Fridge Storage | Up to 3 days in an airtight container; reheat at 350°F for 8–10 minutes ❄️ |
| Freezer Storage | Up to 2 months; bake straight from frozen at 400°F for 20–22 minutes |
| Make-Ahead Tip | Bread them the night before, refrigerate unbaked, then bake fresh for maximum crispy |
Nutrition Notes
Print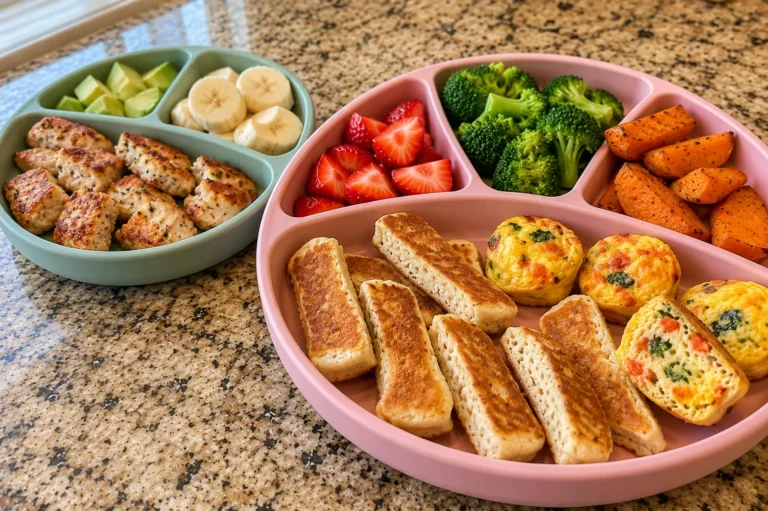
TODDLER FINGER FOODS FOR LITTLE HANDS AND SELF-FEEDING 👶
These delicious chicken bites are perfect for toddlers and can be easily held in little hands.
- Total Time: 30 minutes
- Yield: 4 servings 1x
Ingredients
1 lb chicken breast, cut into bite-sized pieces
1 cup breadcrumbs
1/2 cup grated Parmesan cheese
1 tsp garlic powder
1 tsp paprika
1/2 tsp salt
1/2 tsp pepper
1 egg, beaten
1 tbsp olive oil
Instructions
1. Preheat the oven to 400 degrees F (200 degrees C).
2. In a bowl, mix the breadcrumbs, Parmesan cheese, garlic powder, paprika, salt, and pepper.
3. Dip each chicken piece into the beaten egg, then roll in the breadcrumb mixture until well coated.
4. Place the chicken bites on a baking sheet lined with parchment paper.
5. Drizzle with olive oil and bake for 15-20 minutes until golden and cooked through.
6. Let cool slightly before serving to toddlers.
Notes
These chicken bites can be served with a side of ketchup or yogurt dip.
Store leftovers in an airtight container in the fridge for up to 3 days.
- Prep Time: 10 minutes
- Cook Time: 20 minutes
- Category: Chicken Dinners & Wings 🍗
- Method: Baking
- Cuisine: American
Nutrition
- Serving Size: 1 serving
- Calories: 250 kcal
- Sugar: 1g
- Sodium: 200mg
- Fat: 10g
- Saturated Fat: 2g
- Unsaturated Fat: 7g
- Trans Fat: 0g
- Carbohydrates: 16g
- Fiber: 1g
- Protein: 22g
- Cholesterol: 70mg
Keywords: toddler, chicken, finger food
These toddler finger foods are packed with lean protein to keep little ones satisfied and energized through the afternoon chaos. One serving gives you solid protein without excess sodium—perfect for growing bodies. The breading adds carbs for energy, and if you’re baking instead of frying, the fat content stays reasonable while still delivering that irresistible golden-crispy texture. Each strip is portion-controlled, so you’re not worrying about oversized bites or choking hazards.
- Serving Size: 2–3 strips (approximately 85g)
- Calories: 145 kcal
- Protein: 18g
- Carbs: 8g
- Fat: 3g
- Sodium: 220mg
FAQ
Absolutely. Swap the egg for a plant-based milk and cornstarch slurry (2 tbsp milk + 1 tbsp cornstarch stirred together) and dip your strips in that instead. Works like a charm and keeps everything just as golden and crispy.
You’re likely not patting the chicken dry first (moisture is the enemy of crispy) or your oil temperature isn’t hot enough if frying. Also, don’t crowd the pan or baking sheet—each strip needs breathing room to get that perfect crust.
The chicken should reach 165°F internally (use a meat thermometer to check the thickest part), and the coating should be golden brown and feel firm to the touch. If you can’t get a thermometer, cut into the thickest strip—no pink inside, and juices run clear.