
Gather round, my friends, because we’re about to embark on a journey of banana bread bliss – with no butter in sight! That’s right, this recipe is all about pure banana-y goodness, with a side of my signature comedic flair. So, put on your best baking apron (and maybe a clown nose, if you’re feeling fancy 🤡) and let’s get this party started!
Why You’ll Love This banana bread no butter
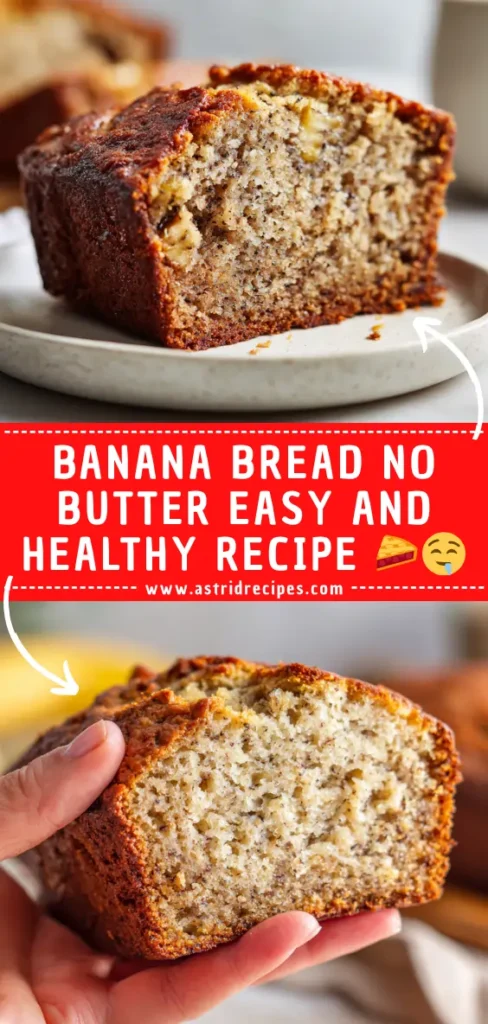
Imagine a world where banana bread is not only moist, fluffy, and bursting with flavor, but also free from the constraints of butter. That’s the magical realm we’re about to enter, my friends. This recipe is a game-changer, delivering all the comfort and satisfaction of classic banana bread, with a twist that will have your taste buds doing the happy dance. 🕺 Plus, with my expert tips and hilarious commentary, you’ll be baking like a pro in no time – well, maybe a pro-ish. 😉 Get ready to wow your friends, family, and the neighborhood squirrels (they have excellent taste, you know) with this banana bread that’s simply out of this world! 🌍✨
Ingredients You’ll Need
Alright, let’s gather the troops – I mean, the ingredients. You’ll need some ripe bananas, of course, because without them, this whole operation would be a big ol’ flop. 🍌 But fear not, my fellow bakers, we’ve got a few other essentials like flour, sugar, eggs, and baking soda to keep things together. Oh, and don’t forget the vanilla extract – that’s the secret ingredient that makes this banana bread sing like a choir of angels. 🎶
- 3 ripe bananas — mashed
- 1 3/4 cups all-purpose flour — or gluten-free flour blend
- 3/4 cup granulated sugar — or coconut sugar
- 2 large eggs — beaten
- 1 tsp baking soda — for rise and structure
- 1 tsp vanilla extract — the flavor MVP
Ingredient Swaps (No Panic Allowed)
- All-purpose flour → Gluten-free flour blend (still delicious, promise) ✅
- Granulated sugar → Coconut sugar (easy dietary swap) 👍
How to Make banana bread no butter (Step-by-Step)
Alright, time to put on our best baking pants and get to work! 👖 First, we need to preheat the oven to a toasty 350°F (175°C). I know, I know, it’s hard to be patient when the smell of fresh banana bread is wafting through the air, but trust me, this is a crucial step. 🔥
Step 1: Prep Work
Now, let’s get those bananas ready for their big debut! Grab a fork and mash them up until they’re nice and smooth. (Or, if you’re feeling extra fancy, you can use a potato masher and pretend you’re a professional chef. 👩🍳) Once that’s done, crack those eggs into a bowl and give them a good whisk – we don’t want any scrambled surprises in our banana bread, am I right? 🍳
Step 2: Main Cooking Process
With the prep work out of the way, it’s time to bring everything together. In a large bowl, whisk together the dry ingredients – that’s the flour, baking soda, and a pinch of salt (because what’s a recipe without a little bit of drama?). 🧂 Then, gently fold in the mashed bananas, whisked eggs, and a generous splash of vanilla extract. 🙌 Mix it all together until it’s just combined, being careful not to overmix or you might end up with a banana brick. 🧱
Step 3: Final Steps/Assembly
Alright, time to get this show on the road! Grease a loaf pan with some non-stick cooking spray (or butter, if you’re feeling rebellious 😏) and pour in the batter. Smooth it out with a spatula, then pop it in the oven for about 55-65 minutes. 🕰️ Now, I know the waiting game can be tough, but trust me, the end result will be worth it. 🤤
Step 4: Finishing Touches
Once the timer goes off and the kitchen is filled with the most delectable aroma, it’s time to give our banana bread the grand finale it deserves. Grab a toothpick and stick it into the center – if it comes out clean, it’s time to let the celebrations begin! 🥳 Now, let the bread cool for a bit before slicing into it. I know, I know, the anticipation is killer, but trust me, a little patience will make this banana bread taste even more heavenly. 😇
How to Know It’s Done (No Guessing)
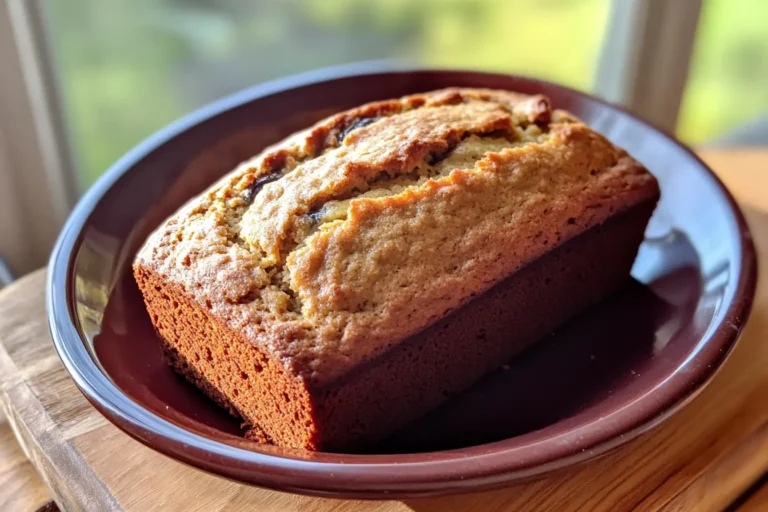
Alright, let’s talk about how to know when this banana bread is ready to be devoured. First and foremost, keep an eye on the top – it should be a gorgeous golden-brown color, like a perfectly toasted marshmallow. 🍠 And when you gently press on the center, it should spring back ever so slightly, like a little trampoline for your fingers. 👉 But the real test is the trusty toothpick method. Stick one into the center, and if it comes out clean, you know it’s time to break out the plates and napkins (and maybe a bib, just in case things get messy. 🤪)
Look for
- A lovely golden-brown color on top
- A slight spring-back when gently pressed
- A clean toothpick when inserted into the center
Avoid
- Repeatedly opening the oven door (that’s a recipe for disaster)
- The old “poke it and see” method (trust the toothpick, not your fingers)
If it’s too… here’s the fix
- Too moist or not quite done — Pop it back in the oven for another 5-10 minutes.
- Too dark on the outside — Cover it with a sheet of foil to prevent further browning.
Optional temp note (only if it makes sense): Not needed here — visual cues are enough.
What to Do If It Goes Wrong (Fix-It Guide)
Alright, let’s talk about what to do if things take a turn for the dramatic in the banana bread department. 🎭 First off, if it’s a little too salty, no need to panic. Just whip up a quick glaze with some powdered sugar and a splash of milk – that’ll balance things out nicely. 🍯
- Too salty — Make a quick powdered sugar glaze to balance it out.
- Too dry — Add a dollop of plain yogurt or a bit of milk to the batter.
- Too runny — Pop it back in the oven for an extra 5-10 minutes.
- Not browning — Crank up the oven temp for the final 10 minutes.
Good news: almost everything is fixable. Panic is optional. 😌
Recipe Variations & Tips (Tiny Checklist, Big Energy)
Before you freestyle: run this quick checklist like a kitchen boss.
- Add nuts — Fold in some chopped walnuts or pecans for a nutty twist. ✅
- Throw in chocolate — A handful of chocolate chips makes everything better. ✅
- Try whole wheat flour — Swap it in for a healthier spin. 🎉
- Drizzle with caramel — Take it over the top with a salted caramel glaze. 🚀
Warning: This may cause sudden happiness and suspicious silence at the dinner table. Proceed responsibly. 😅
Serving & Storage
| Topic | Notes |
|---|---|
| Best Serving Ideas | Slice it up and serve with a pat of butter (or non-dairy spread, if you’re feeling virtuous 😇), a sprinkle of powdered sugar, or a generous scoop of vanilla ice cream. It’s also delicious on its own, with a cup of coffee or tea for the ultimate cozy experience. |
| Fridge Storage | Once cooled, you can keep your banana bread in an airtight container in the fridge for up to 5 days. Just make sure to let it come back to room temperature before serving for maximum flavor and texture. |
| Freezer Storage | If you want to extend the life of your banana bread, pop it in the freezer! Wrapped tightly in foil or plastic wrap, it’ll stay fresh for up to 3 months. |
| Reheating | To reheat, simply slice off a piece and pop it in the microwave for 20-30 seconds. Or, if you’re feeling fancy, you can warm it up in the oven at 350°F (175°C) for 5-10 minutes. |
Nutrition Notes
Alright, let’s talk about the nutritional stats for this butter-free banana bread. First off, you can rest easy knowing that without the added butter, this recipe is significantly lower in saturated fat. 💪 Plus, those ripe bananas are packed with potassium, fiber, and natural sweetness, making this a pretty darn healthy treat.
- Serving Size: 1 slice
- Calories: 200 kcal
- Protein: 3 g
- Carbs: 34 g
- Fat: 6 g
- Sodium: 180 mg
banana bread no butter
This delicious banana bread is made without butter, using applesauce for moisture and sweetness. Perfect for breakfast or a snack!
- Total Time: 70 minutes
- Yield: 8 slices 1x
Ingredients
3 ripe bananas
1/2 cup unsweetened applesauce
1/2 cup brown sugar
1 teaspoon vanilla extract
1 teaspoon baking soda
1/2 teaspoon salt
1 teaspoon ground cinnamon
1 1/2 cups all-purpose flour
1/2 cup chopped walnuts (optional)
Instructions
1. Preheat your oven to 350°F (175°C).
2. In a large bowl, mash the ripe bananas with a fork until smooth.
3. Add the applesauce, brown sugar, and vanilla extract, and mix until well combined.
4. In a separate bowl, whisk together the baking soda, salt, cinnamon, and flour.
5. Gradually add the dry ingredients to the banana mixture, stirring until just combined.
6. Fold in the walnuts, if using.
7. Pour the batter into a greased 9×5 inch loaf pan.
8. Bake for 50-60 minutes, or until a toothpick inserted into the center comes out clean.
9. Let the banana bread cool in the pan for 10 minutes before transferring it to a wire rack to cool completely.
Notes
Store in an airtight container at room temperature for up to 3 days.
For longer storage, freeze slices in a freezer bag for up to 3 months.
- Prep Time: 10 minutes
- Cook Time: 60 minutes
- Category: Seasonal & Party Feasts 🎉
- Method: Baking
- Cuisine: American
- Diet: Vegetarian
Nutrition
- Serving Size: 1 slice
- Calories: 150 kcal
- Sugar: 10g
- Sodium: 150mg
- Fat: 1g
- Saturated Fat: 0g
- Unsaturated Fat: 1g
- Trans Fat: 0g
- Carbohydrates: 30g
- Fiber: 2g
- Protein: 2g
- Cholesterol: 0mg
Keywords: banana bread, no butter, healthy baking
Quick Questions People Always Ask
Absolutely! In fact, using brown sugar will give your banana bread an even richer, more caramelized flavor. Just swap it out on a one-to-one basis, and you’ll be good to go. 🤩
You bet your bottom dollar you can! Chopped walnuts, pecans, or even a handful of chocolate chips would be a delicious addition to this banana bread. Just fold them in gently after mixing the wet and dry ingredients together. 🥜🍫
No problem! Simply swap out the all-purpose flour for a gluten-free flour blend. Just be sure to adjust the baking time as needed, as gluten-free flours can sometimes require a little extra time in the oven. 🍞